Last updated November 22, 2026
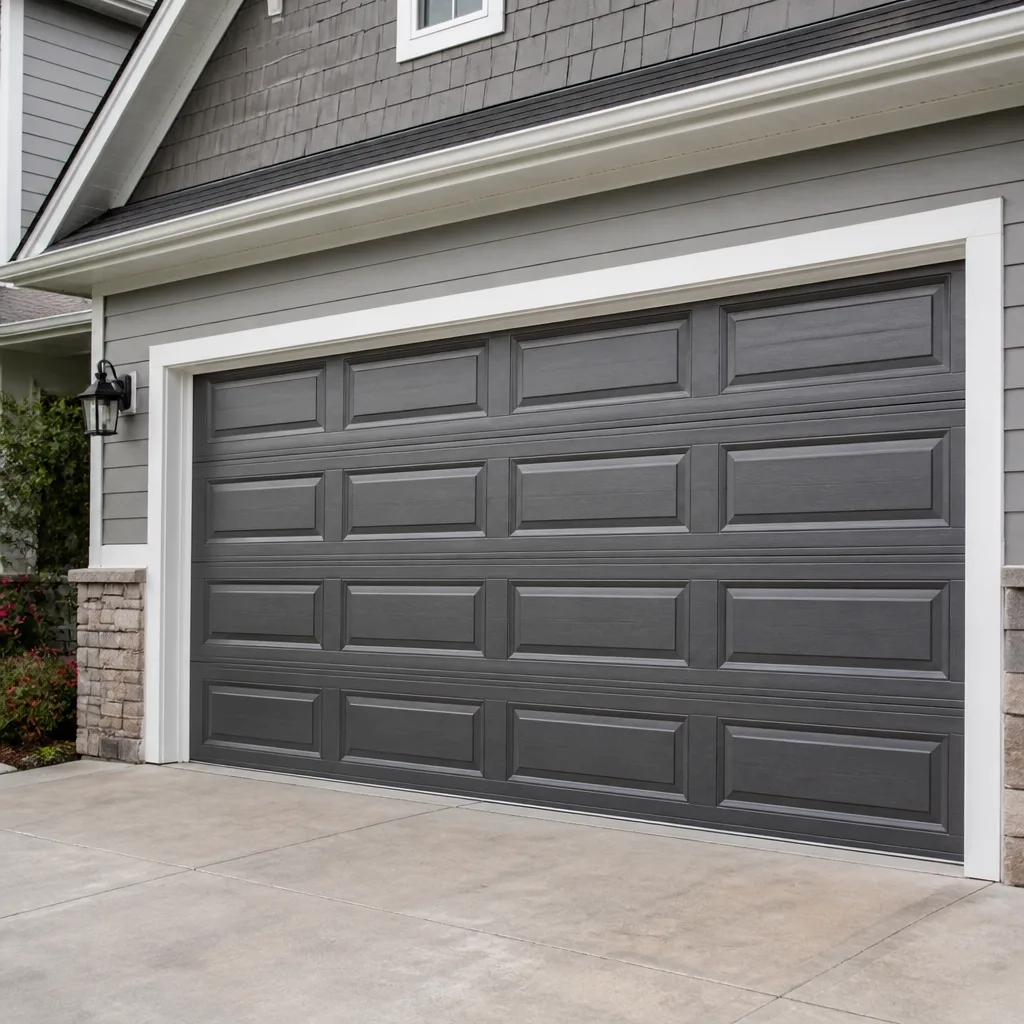 Raised-panel steel
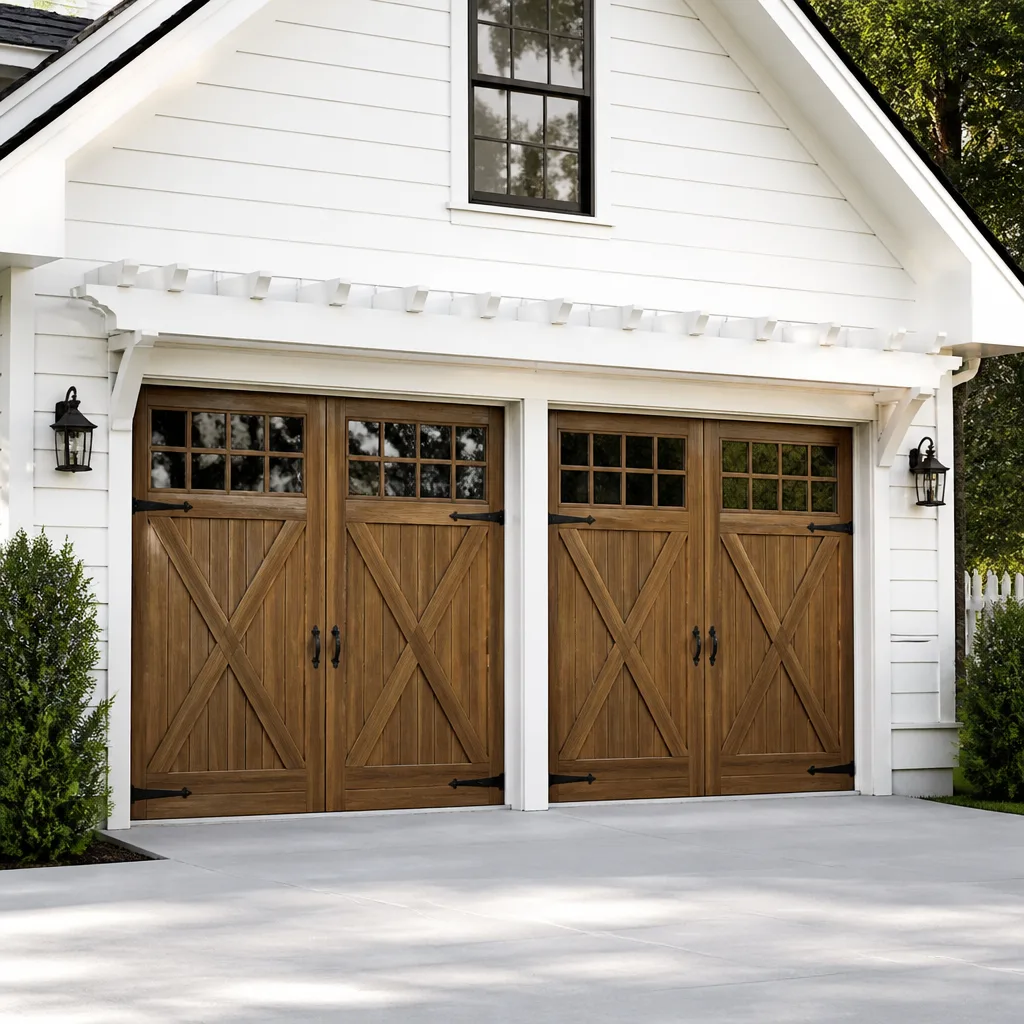 Carriage house
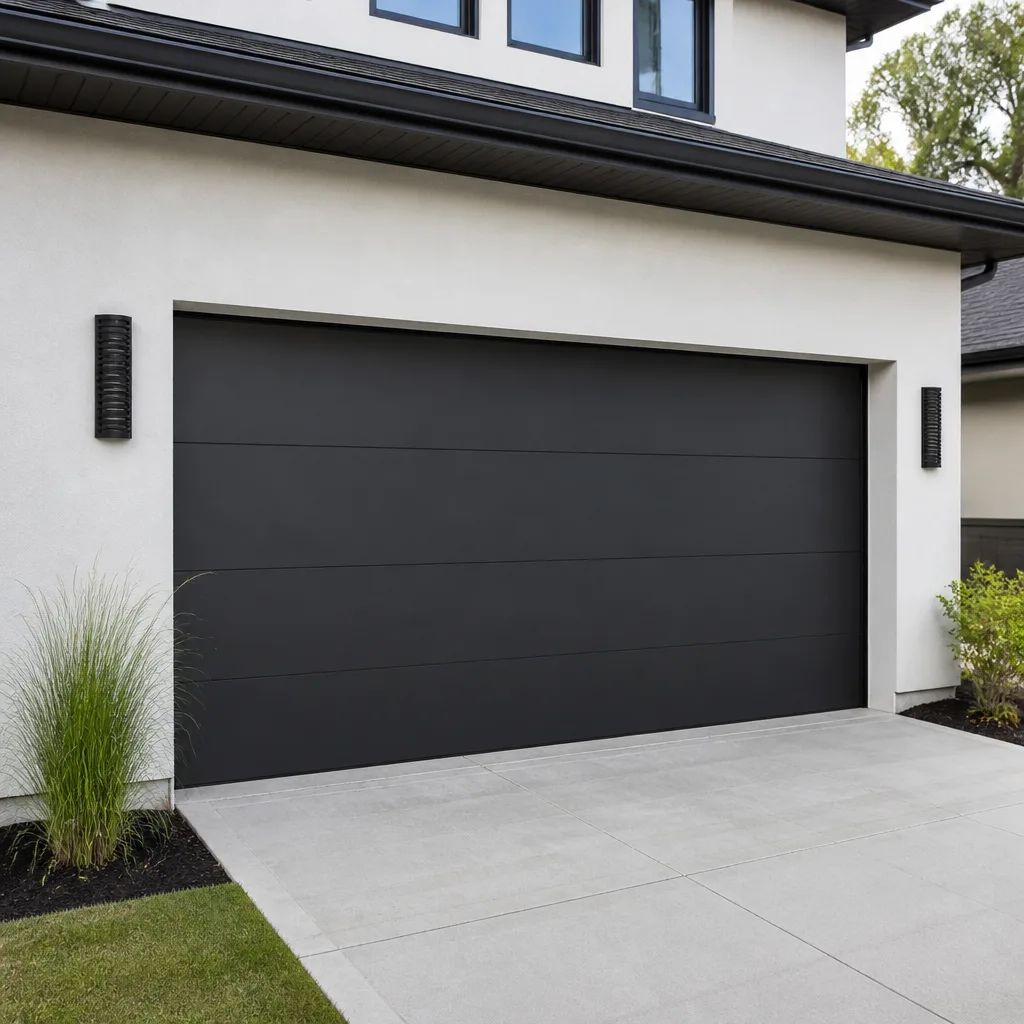 Modern flush
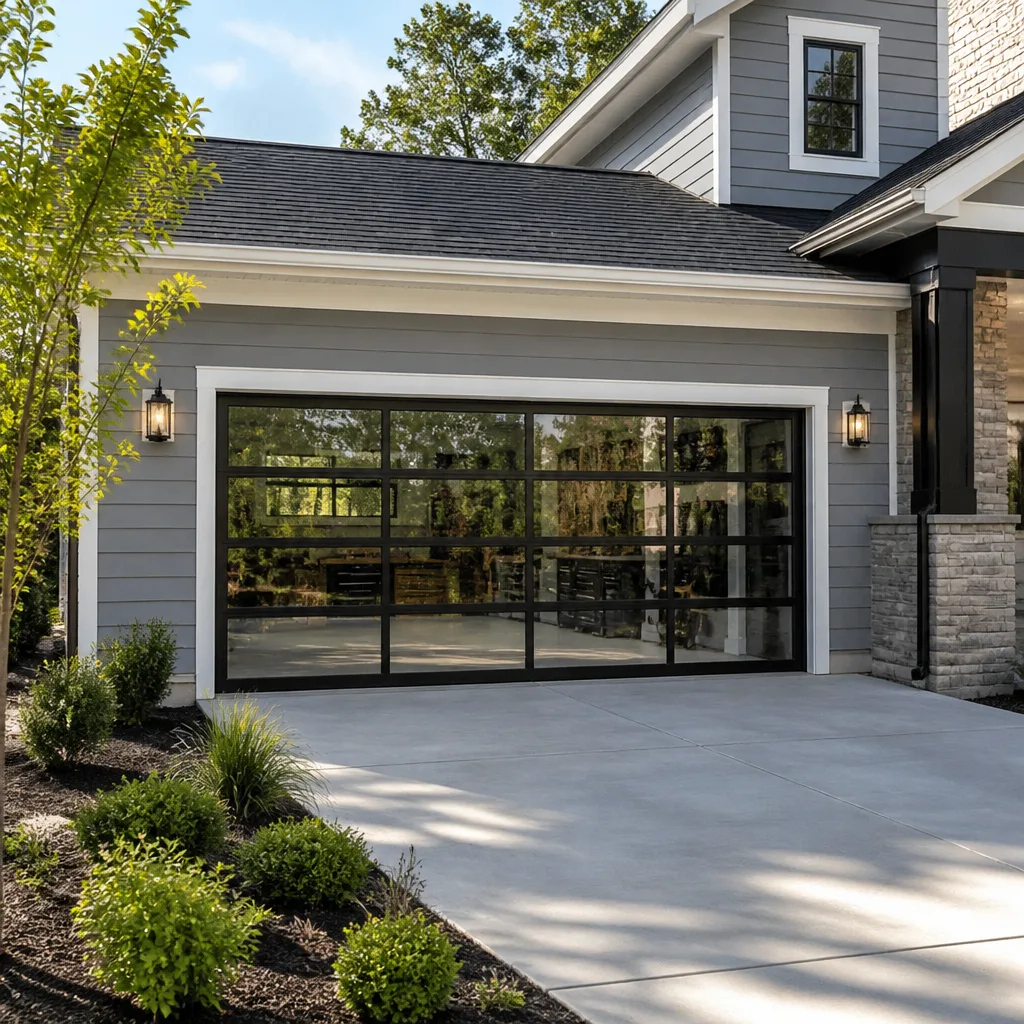 Full-view glass
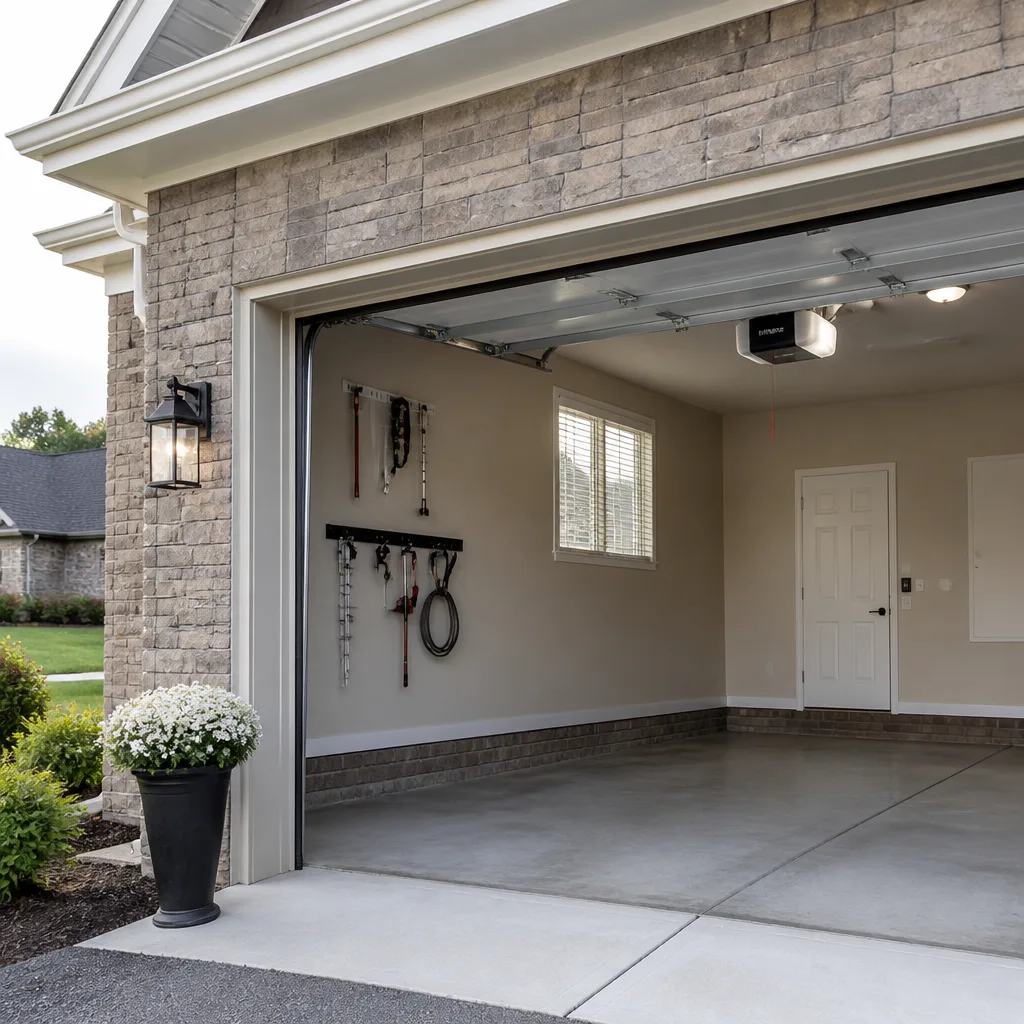 LiftMaster openers
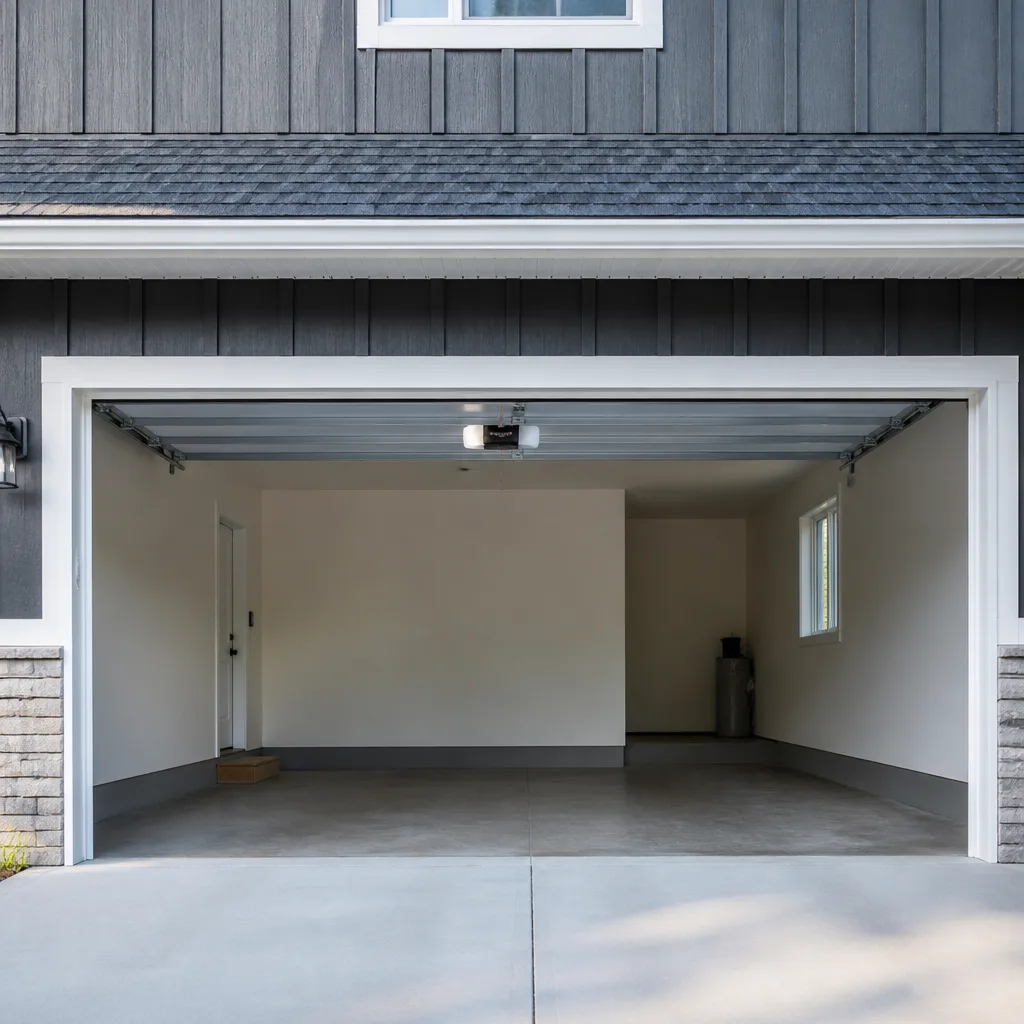 Chamberlain openers
Full 25-point door and opener safety check with every visit - springs, cables, rollers, tracks, and your LiftMaster or Chamberlain opener included
You get a price before we start. It does not change when the pro arrives.
Get your free estimateGarage Door Repair Maintenance Checklist for Alexandria Homeowners
Lubricating your rollers before you check spring tension is like changing your oil without checking for a coolant leak. You’ve done work, but you’ve done it in the wrong order to catch what actually fails first. Most garage door checklists circulating online are organized by convenience: start at the top, work your way down, spray things that squeak. That order will keep a door quiet and still let it fail. The checklist below is built around failure sequence instead, so the parts that signal distress earliest get inspected before anything else. It also accounts for something most guides ignore: what Alexandria winters do to the hardware on a door that faces the road. You’ll finish with a working record of your door’s baseline numbers so you can spot degradation long before a cable snaps.
Quick Answer
The right order for a garage door maintenance checklist is spring and cable inspection first, then balance test, then travel and limit settings, then hardware, then lubrication, then the safety reverse test last. In Alexandria, add a road-salt spray check on hinges, rollers, and the bottom bracket every quarter, because winter treatment on nearby roads throws fine salt mist onto the door hardware. Log your baseline measurements so you can compare later instead of guessing.
Styles & brands we work with
- Raised-panel steel
- Carriage house
- Modern flush
- Full-view glass
- LiftMaster openers
- Chamberlain openers
Table of Contents
- Why Maintenance Order Matters More Than the Tasks Themselves
- Stage One: Springs, Cables, and the Cable Drum Check Most Checklists Skip
- Stage Two: The Balance Test and Travel Settings
- Stage Three: Hardware, Hinges, and Road-Salt Spray in Alexandria
- Stage Four: Lubrication and the Safety Reverse Test
- How to Log Your Baseline Measurements
- Quarterly vs. Annual Tasks: A Realistic Split
- What Maintenance and Common Repairs Cost in Alexandria
Why Maintenance Order Matters More Than the Tasks Themselves
A garage door fails in sequence. The spring loses tension slowly, the door starts getting heavy, the opener pulls harder, the cables and drums take more load, and eventually something lets go. Each stage telegraphs the next. If you inspect in that same sequence, you catch the problem at the cheapest point in its life. If you inspect in the convenient order, you’re looking at a quiet door that’s already four months into a spring problem.
We’ve seen this play out constantly on doors throughout Alexandria. A homeowner keeps up with lubrication because it’s easy, notices nothing wrong because the door sounds fine, and then one morning the door won’t lift. The spring had been telling them for months. It just wasn’t speaking in a sound they were listening for.
The sequence for a proper inspection is:
- Springs and cables – the parts that carry load and the parts that fail dangerously.
- Balance test – confirms whether the springs are still doing their job.
- Travel and limit settings – checks whether the opener is compensating for a problem upstream.
- Hardware, hinges, and bottom bracket – the parts exposed to weather and vibration.
- Lubrication – the finishing step, not the starting one.
- Safety reverse test – the last check, because it depends on everything else being right.
Each stage is fast on its own. The whole sequence takes less than twenty minutes once you know what you’re looking for. The value isn’t in the time saved, it’s in what you find before it turns into a same-day repair call.
Stage One: Springs, Cables, and the Cable Drum Check Most Checklists Skip
Start at the springs because they’re the first component to signal trouble and the most dangerous to handle. Never touch a torsion spring or a cable under tension. We mean that seriously. Public safety warnings from every door manufacturer say the same thing: springs and cables are handled by trained technicians only, and any work that requires loosening one is a pro job.
Safety note: High-tension springs and cables can cause serious injury if they release unexpectedly. Do not attempt to adjust, tighten, or replace them yourself. Only inspect visually with the door closed and the opener disconnected.
Your visual spring inspection should include:
- Torsion spring gap: look at the coil and confirm you can see a clean, consistent gap the whole length. If it looks tight, call before running the door.
- Extension spring stretch: extension springs hang alongside the tracks. Check for stretched hooks, gaps between coils, or visible rust at the ends.
- Spring color code: the paint stripe on the coil identifies the spring weight. Worth photographing for a repair call.
- Cable condition: look for fraying, flattened strands, or cable slack lying across the floor.
- Cable drums: the drums sit at each end of the torsion shaft. Check that the cable is wrapped evenly in the grooves. Any cable riding off its groove, overlapping, or sitting hard against the drum edge is a warning sign. Most DIY checklists skip this entirely, and it’s often the first sign a drum or bearing plate is failing.
Springs in Alexandria work through real temperature swings, and the flex from cool nights to warm afternoons is one of the things that shortens spring life. That makes the visual check worthwhile every quarter, not just once a year. If you want a technician to look at spring wear honestly before it fails, that’s part of our garage door repair service. We do it visually first, then tell you plainly whether the spring is near the end of its cycle count or has plenty left.
Stage Two: The Balance Test and Travel Settings
The balance test is the fastest way to learn whether your springs are still holding the door’s weight. It takes about thirty seconds and tells you more than any sound the door makes.
- Close the door fully.
- Pull the emergency release cord to disconnect the opener.
- Lift the door by hand about halfway up.
- Let go and step back.
A door with good spring tension should hold in place, or drift down slowly and stop. If it drops hard, the springs are weak. If it climbs on its own, something is over-tensioned. Either result means a call to a technician, and both are easy to diagnose with the door disconnected.
Next, check the opener’s travel and limit settings. Reconnect the door first with the opener in the down position. Then watch for these signals:
- Opener strains or sounds labored at a certain point in the travel – often a sign of a limit switch set too far.
- Door reverses before reaching the floor – usually the down limit is set too high.
- Door slams into the floor – the down limit is set too low.
- Door stops partway up – the up limit is set too short or the opener is nearing its capacity.
If your opener is a LiftMaster, Chamberlain, or Genie unit, the travel adjustments are usually trim-pot dials or a digital setup menu on the motor housing. We work on all four of those brands daily; our garage door opener repair team can walk through your specific model if the setup menu looks unfamiliar. If a lift powering up a heavier door than it was spec’d for is the issue, the fix isn’t a limit tweak, it’s an opener with capability to match. That’s a genuine conversation, not an upsell.
Stage Three: Hardware, Hinges, and Road-Salt Spray in Alexandria
This is where an Alexandria checklist has to differ from a generic one. Roads near the I-395 corridor and the GW Parkway get treated through the cold months, and the traffic throws that treated spray onto garage door hardware. Salt spray doesn’t stop at the door’s paint. It works into the hinges, roller stems, bottom bracket, and track fasteners.
Quarterly road-salt spray check:
- Hinges: check for a chalky white residue or light pitting around the pivot points. Salt stains show up first at the hinge pin.
- Roller stems: the stem and the nylon or steel wheel should spin freely. Any grinding feel is a sign corrosion has entered the bearing.
- Bottom bracket: the bracket at the lowest panel takes the most spray and is the most important to keep clean. Do this check with the door closed and hands away from the cable.
- Track fasteners: look for rust streaks running down the metal where the lag bolts sit.
- Weather seal: the bottom rubber seal deteriorates faster when salt dries into it. Run a finger along the bottom edge; if it crumbles, it’s due for replacement.
Track alignment matters as much as corrosion. A track that’s been nudged or hit will bind the door and load the opener. Check that both vertical tracks look parallel and that the horizontal tracks run level toward the opener. Any obvious bend is a call, not a bend-it-back fix; a bent track that gets straightened by hand usually loses the alignment again.
We work on your brand, whether that’s Raynor panels with rusted hinge hardware or a Chamberlain-equipped door with a track that’s shifted after a knock. The hardware check is the part most homeowners skip because nothing visible has broken yet. In our experience, that’s exactly where the small, cheap fixes are hiding.
Stage Four: Lubrication and the Safety Reverse Test
Lubrication comes last, because by now you know what’s actually moving and what’s actually stuck. Spraying every hinge before checking what’s binding just masks the symptom.
What to lubricate and what to leave alone:
- Hinges: one short spray at each pivot point.
- Roller stems: a drop where the stem meets the wheel.
- Torsion spring coils: a light wipe along the length to reduce coil friction. Never put your hands between coils.
- Track: the track itself needs no lubrication. Greasing the track collects grit and drives the rollers sideways. If your track looks like it wants grease, wipe it clean instead.
- Do not lubricate: cables, the opener rail’s drive belt or chain unless the manufacturer says so, or the photo-eye lenses.
Finish with the safety reverse test, which is the single most important check on the whole list because it decides whether a closing door will stop for a child or a pet.
- Place a solid object about 1.5 inches tall on the floor in the door’s path.
- Close the door using the wall control.
- Confirm the door reverses as soon as it contacts the object.
- Then wave a hand in front of the photo-eye between the two sensors and confirm the door reverses mid-travel.
If either test fails, stop using the door and get it looked at. A door that won’t reverse isn’t a small problem, and it’s not something we’d suggest adjusting as a DIY exercise. If your opener is a LiftMaster or Chamberlain with the myQ ecosystem, the app often logs a reverse-test failure, which is a useful early heads-up.
How to Log Your Baseline Measurements
Detailed maintenance turns into guesswork quickly if you don’t keep a record. A simple log fixes that. You’re looking for change, not perfection: a door that has drifted slightly but consistently is more informative than one that’s perfectly aligned one inspection and off the next.
Log these four numbers each inspection:
- Travel time to close. Time the door from fully open to fully closed with a stopwatch. Write it down. A close time that’s getting shorter is usually a sign of increased door friction or a limit that’s crept.
- Balance test result. Write “holds,” “drops fast,” or “climbs” plus the starting position from the half-open test.
- Spring gap consistency. Note whether the torsion spring coils look evenly spaced or tight at either end.
- Reverse test result. Just a checkmark and the date.
Take a photo of the spring’s color stripe and of the label on the opener housing each time. If the door is a Clopay or Amarr model, the panel label often includes the door weight; photographing that label once will save a technician a trip through the garage looking for it later.
If you’re already thinking about replacing the door, the log becomes useful for a different reason. It tells the installer how the current door has performed and what size opener the new one should run. Our garage door installation team uses exactly that kind of record when specifying a new door and opener combo, and the written quote reflects what’s actually needed.
Quarterly vs. Annual Tasks: A Realistic Split
Some tasks need doing every quarter, some are annual, and some you only touch when something changes. Splitting them this way keeps the workload honest. Each block below is for a homeowner without a technician’s tools.
Quarterly (about 15 to 20 minutes):
- Visual spring and cable check (door closed, opener disconnected from lift).
- Road-salt spray check on hinges, roller stems, bottom bracket, and track fasteners.
- Photo-eye alignment: clean the lenses, confirm the light holds steady.
- Reverse test with a solid object.
- Lubrication pass on hinges and roller stems.
Annual (about 30 to 40 minutes):
- Full balance test with the door disconnected.
- Cable drum inspection with a close look at groove wrapping.
- Track check for parallel alignment and any bend.
- Bottom weather seal inspection and replacement if crumbling.
- Opener travel and limit check, plus remote battery replacement.
- Update the log with travel time and balance result.
Only when you notice a change:
- Opening the limit adjustment menu on the opener.
- Investigating a track noise that appeared after a knock.
- Tightening hinge lag screws, only if one has backed out slightly.
Most of the quarterly work fits into a half hour on a Sunday afternoon. That’s the kind of realistic schedule a homeowner can actually keep, and it does more to prevent a spring failure than a full afternoon of unfocused tinkering.
What Maintenance and Common Repairs Cost in Alexandria
Maintenance itself costs less than most repair calls, and knowing the price ranges helps you judge a quote when one comes in. Everything below is a typical estimate, not a fixed price. The written estimate sets the final price, and we confirm it with you before any work starts.
Typical Garage Door Costs in Alexandria (Estimates)
- Tune-up or maintenance visit: $90 to $180.
- Single torsion spring replacement: $180 to $340.
- Matched torsion spring pair: roughly twice the single spring range, since both springs are replaced together.
- Extension spring pair replacement: $150 to $300.
- Cable replacement (per cable): $110 to $220.
- Hinge or roller replacement (plus hardware): $80 to $200.
- Opener repair: $120 to $280.
- New opener installation: $350 to $700.
- Bottom weather seal replacement: $120 to $250.
These ranges shift with door size, brand, and whether the panel has to be removed to reach a component. A Raynor or LiftMaster opener repair can land slightly higher than a Craftsman unit because of shared parts availability at the model level; the estimate reflects that. If you’re calling about a door that won’t open and your day is already blocked, we quote first, so the number on the phone matches the number on the invoice.
One note on springs, because it matters more than any price: spring failure is a job for a specialist. Asking a general handyman to swap a torsion spring to save a little on labor isn’t a trade worth making. Our technicians have up to 14 years of experience, and the risk is real for anyone without the right winding tools.
Common Mistakes to Avoid
- Lubricating before checking tension. If you spray every hinge first, you’ll never notice a binding roller or a spring that’s started to stick. Do the load-bearing checks first.
- Skipping the cable drum entirely. Most checklists start at the hinges and never look up. The drum is where cable failure shows up first, and if the cable is off its groove, the door is already in danger.
- Greasing the track. Track grease collects grit from Alexandria’s road spray and binds the rollers instead of freeing them. The track should stay dry.
- Forgetting the winter salt spray. A November wipe-down isn’t enough. The spray keeps arriving all winter, so the hinge residue builds up across several months. Clean the hinge pins and bracket quarterly through the cold season.
- Never writing the baseline numbers down. If you can’t remember your door’s close time from last year, you can’t tell whether the opener is working harder now. A log takes two minutes and tells you what inspection can’t.
- Adjusting the safety reverse because the door is binding. If the reverse test fails, the tempting move is to tweak the sensitivity. A binding track or weak spring will fail the test repeatedly until it’s fixed. Fix the cause, not the sensor.
- Using a wrench on the springs. The number one mistake. Winding a torsion spring without the correct winding bars and training is how people end up in the emergency room. Leave it alone.
See the difference
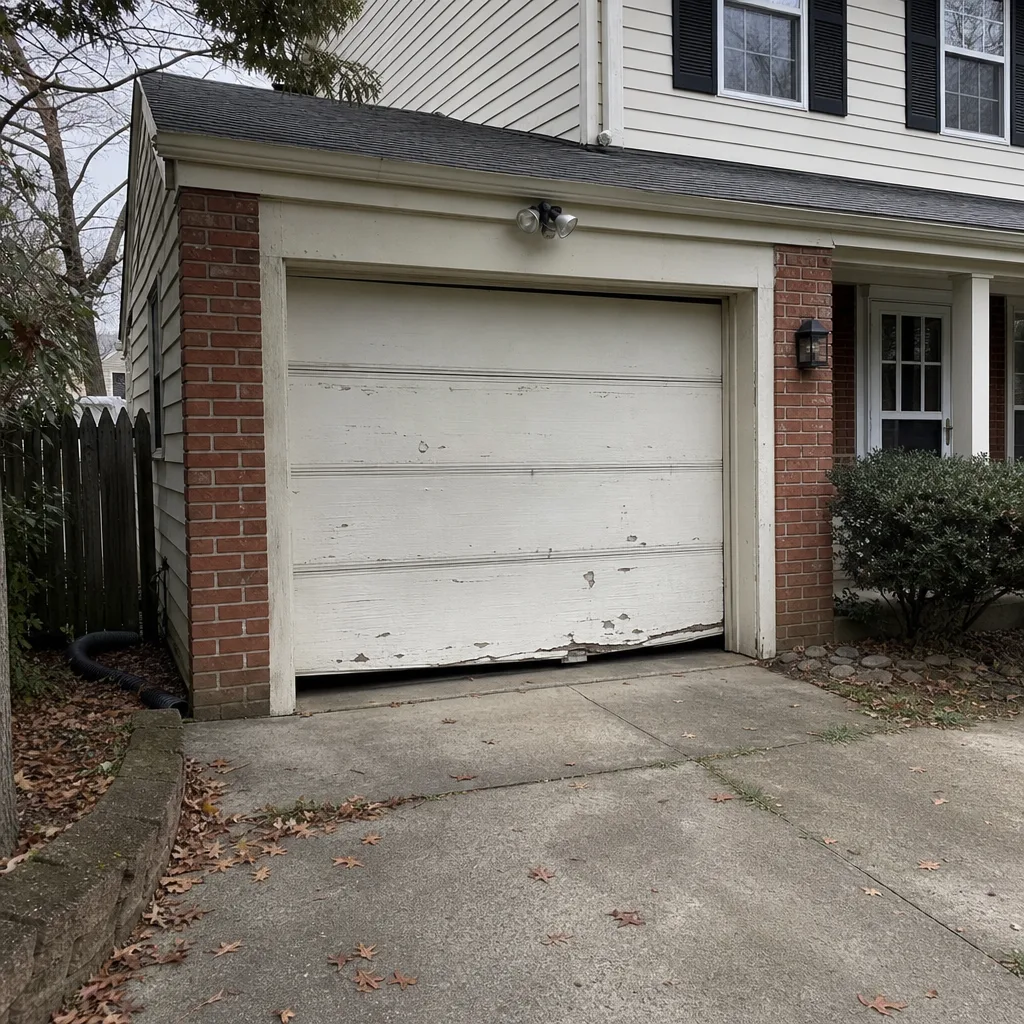 Before
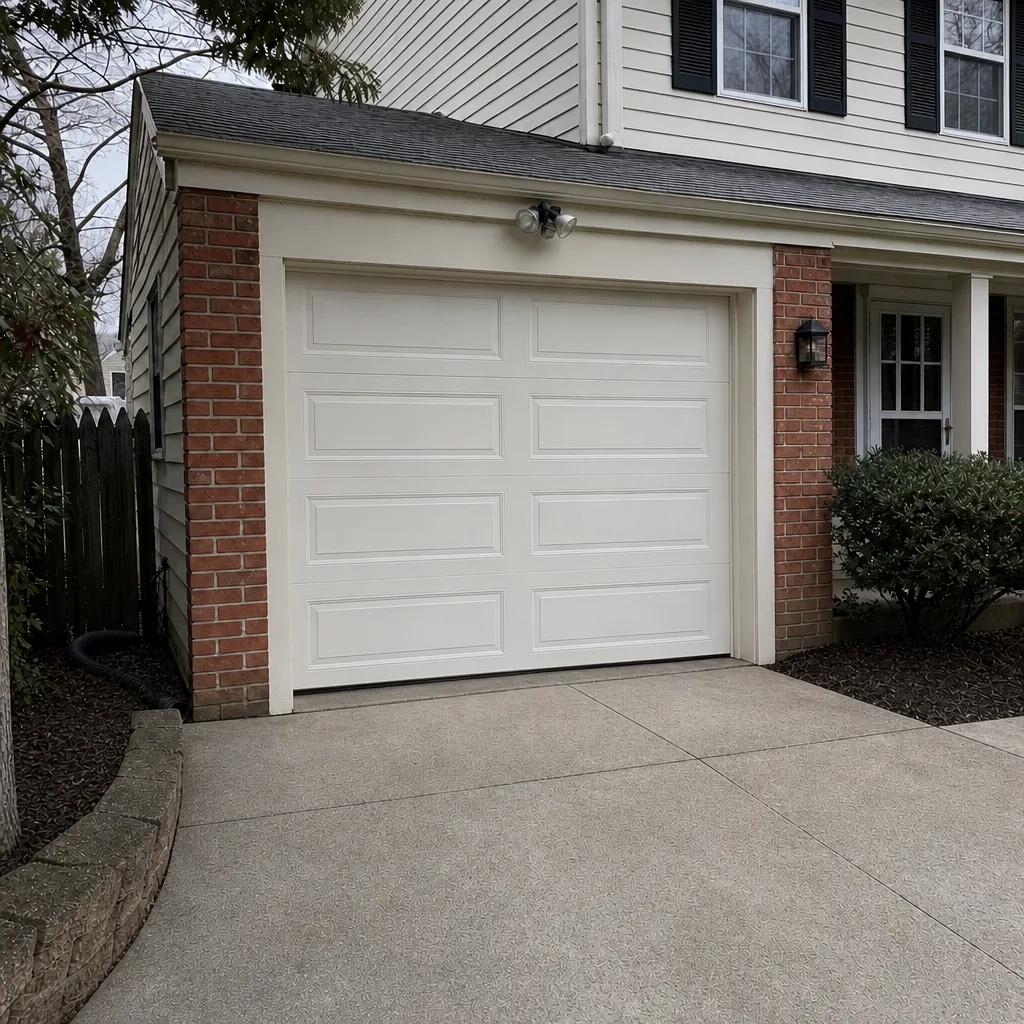 After
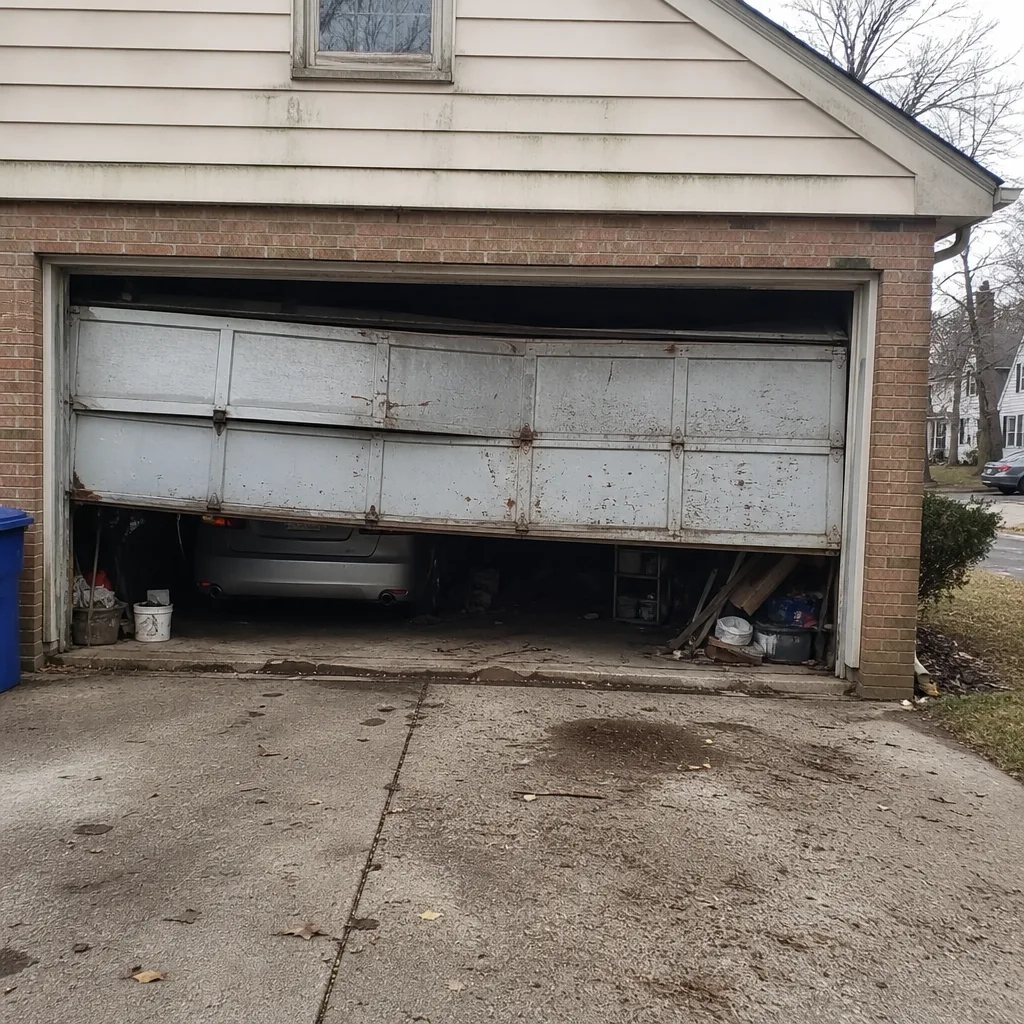 Before
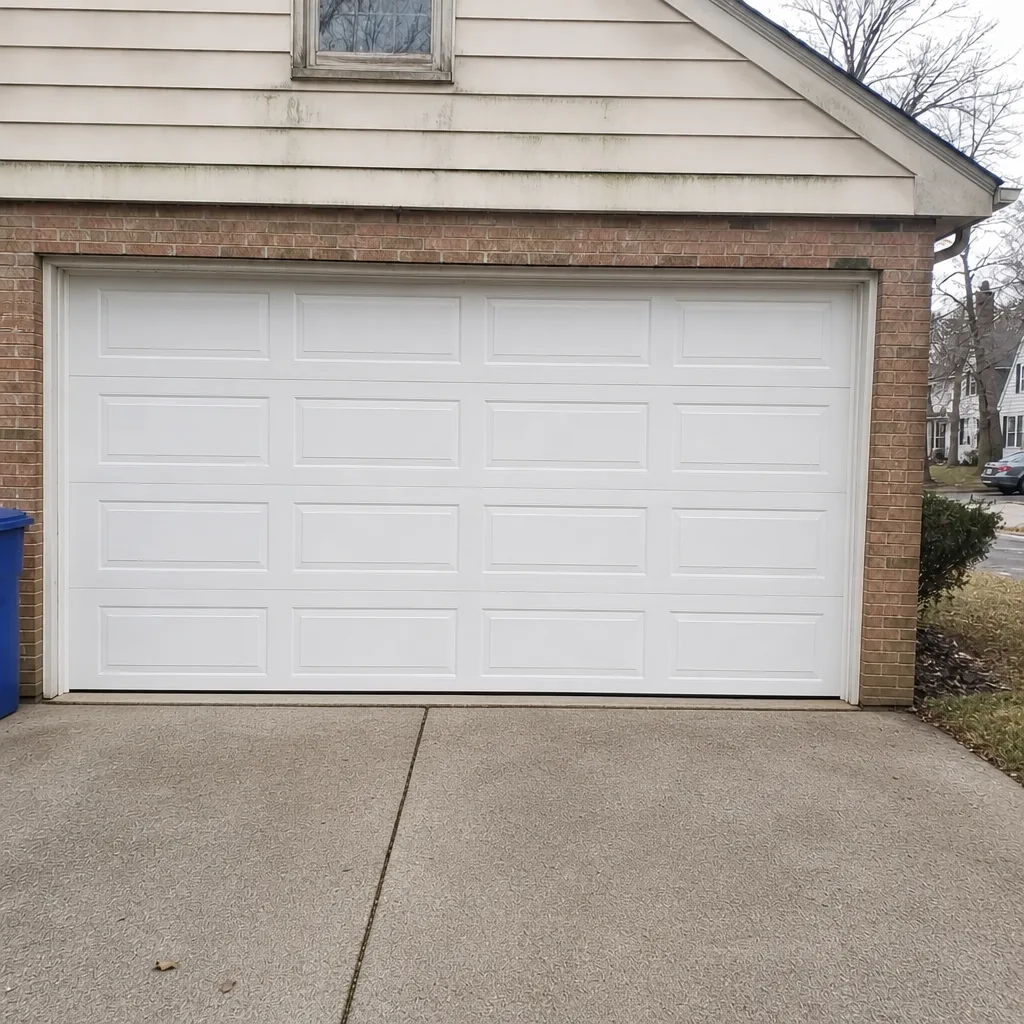 After
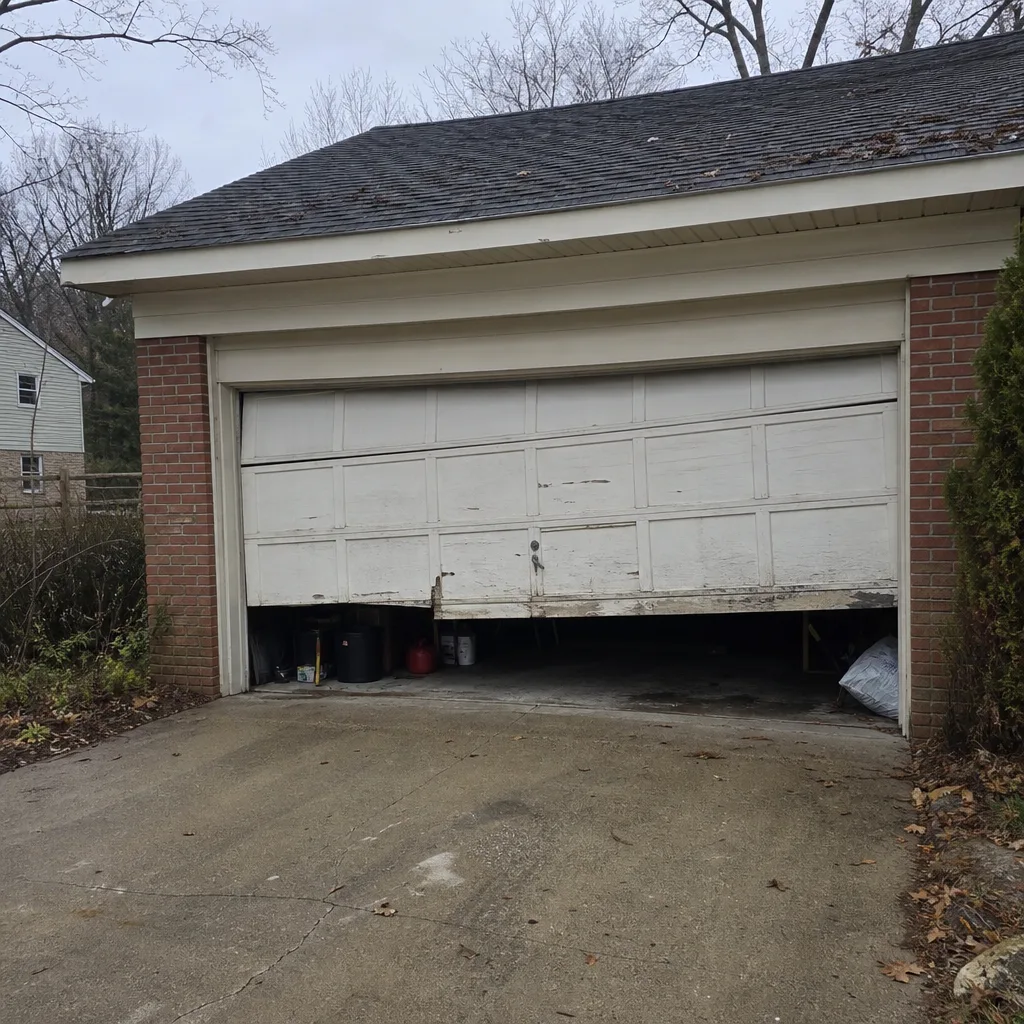 Before
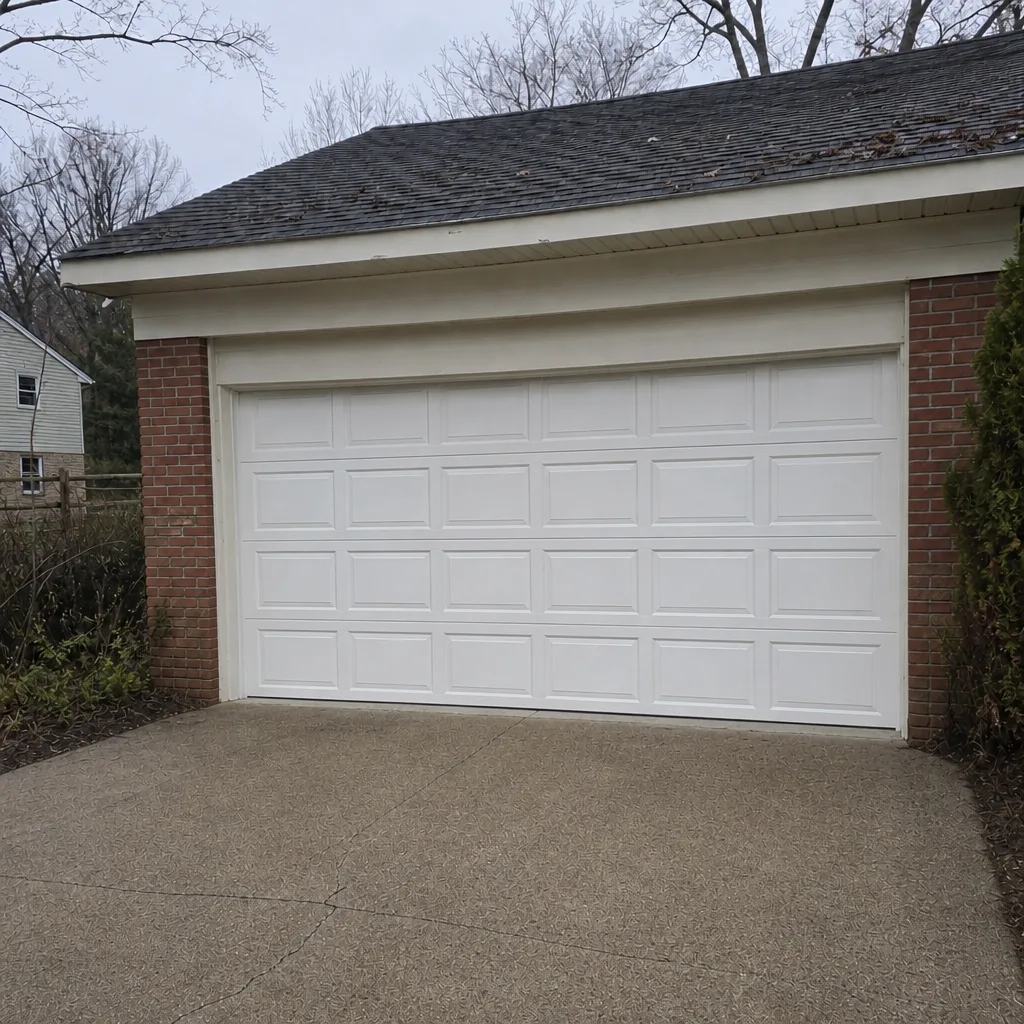 After
When to Call a Professional
Some problems are worth a call even when the door still runs. A torsion spring with a visible gap, a cable off its drum, a door that drops fast on the balance test, or a hinge that has rusted through all need a technician. A binding track or a door that won’t reverse is a same-day call. If the door won’t open and your day can’t wait, that’s exactly what emergency service is for.
Alexandria Garage Door Repair Co offers free estimates in Alexandria. Call (844) 681-5326. If it’s a repair, we can typically match it to a same-day appointment; if it’s a spring or cable job, the price is quoted in writing before anyone touches the door.
Frequently Asked Questions
Quarterly for the visual checks and road-salt spray check, with a fuller annual inspection that includes the cable drum, the balance test, and the travel and limit settings. Alexandria winters add spray from treated roads to the hardware, so the quarterly check matters more here than in a place without that exposure.
No. Torsion and extension springs carry high tension and can cause serious injury if they release unexpectedly. Visual inspection with the door closed is the safe limit for a homeowner. Leave tightening, winding, and replacement to a technician with the right tools. Our spring repair is a dedicated specialty, and we’re happy to come out and look before you touch anything.
The drum is the point where cable wear shows up first and where a slack or misaligned cable will eventually fail. Many checklists stop at the hinges, which means the drum never gets checked until the cable has already snapped. A two-minute look at both drums catches the problem before the door is stranded.
The local professional we connect you with is licensed and insured as Virginia requires for their trade. Our technicians have up to 14 years of experience and work on doors from LiftMaster, Chamberlain, Genie, Clopay, Amarr, Wayne Dalton, Craftsman, and Raynor. If you want credentials confirmed before booking, call and we’ll go through them.
No. We’re closed Saturday and open Sunday through Friday, 7am to 7pm. If your door fails on a Saturday, call and we’ll book you for the next open day so you’re not stuck.
Typical repair calls run $120 to $340 depending on the component. Spring replacement is $180 to $340 for a single spring, and matched pairs cost roughly twice that. Call (844) 681-5326 for an exact quote on your door. Estimates are free and the written number is confirmed before work begins.
The Bottom Line
The order of a maintenance checklist matters more than the checklist itself. Springs and cables first, then the balance test, then travel settings, then the hardware and road-salt spray check, then lubrication, then the safety reverse test. In Alexandria, add the salt spray check quarterly through the winter and keep a simple log of your door’s baseline numbers. If you find a problem you can’t safely handle, call us. We’re a dedicated garage door company, not a general contractor with a side gig, and we work on your brand whether it’s a Raynor panel or a LiftMaster opener.
If you want an experienced eye on it, Alexandria Garage Door Repair Co offers free estimates in Alexandria. Call (844) 681-5326 for a written estimate before any work starts. We’re open Sunday through Friday, 7am to 7pm, and closed Saturday.
Written by the team at Alexandria Garage Door Repair Co.